While Gilcrease Museum is temporarily closed to the public, we are bringing Learn & Play online. Find new content designed for children ages 0-5 and their caregivers to enjoy virtually every two weeks. Each online session of Learn & Play will include an interactive video focusing on artwork from the Gilcrease collection and featuring a hands-on activity demonstration that can be performed from home. Included with each video are additional resources related to the topic of the session. Enjoy this virtual art experience and stay tuned for the next installation.
For more information, call 918-596-2786 or e-mail angie-williams@utulsa.edu.
Learn & Play: Harvest Still Life
In this Learn & Play video designed for children and their caregivers, take a close look at “Harvest Still Life” by Oscar Edmund Berninghaus, explore the process of making corn tortillas from scratch and practice Spanish!
Oscar Edmund Berninhaus was an American artist and a founding member of the Taos Society of Artists. He is best known for his paintings of Native Americans, New Mexico and the American Southwest. He attended the Saint Louis School of Fine Arts and worked as a commercial artist in Saint Louis during the winter, painting in his Taos studio during the summer. Take a closer look at Harvest Still Life on our online collections site.
Learn & Play: Howl-Leigh-Ween
Join Studio Manager and Visual Art Program Specialist Melissa Ski for this month’s episode of Learn & Play! In this episode of Learn & Play, designed for children and their caregivers, learn about William Robinson Leigh, pet adoption and how to make a Halloween-inspired pet bandana.
Look closely at Study #1 Dog by William Robinson Leigh
William Robinson Leigh was an American artist and illustrator. An illustrator is someone who draws pictures for books and magazines. William Robinson Leigh drew pictures of all sorts of things: mountains, people, and animals.
-
- What do you see in this painting?
- Can you describe what this dog looks like? What color is its fur?
- Is its tail long or short? What do you think it looks like when the dog wags its tail?
- Do you have a pet at home? What kind is it? What is their name?
- If you don’t have a pet at home, what kind would you like to get?
Materials Needed:
A plain bandana
Fabric Markers
Pencil
Alternative supplies:
A plain swatch of 21”x 21” fabric
Puff paint or fabric paint
Step 1:
Imagine what kind of design you want to create. If you’re decorating your bandana for Halloween, you might want to make the theme match your costume or your pet’s personality.
Step 2:
Unfold your bandana and place it on a piece of paper or cardboard to protect the surface you are working on.
Step 3:
Use a pencil or your markers to draw an outline of your design first.
Step 4:
Next, color in your design and add details to the background.
Step 5:
Tie the bandana around your pet’s neck with help from an adult. If you don’t have a pet, you can tie your bandana to a stuffed animal or even wear it yourself!
Suggested Readings:
Clifford’s Halloween by Norman Bridwell
Pete the Cat: Trick or Pete by James Dean
Splat the Cat: What was That? by Rob Scotton
Halloween Loooong Dog: Halloween Adventure of a Funny Loooong Dog by Jessica Neal
Harriet’s Halloween Candy by Nancy Carlson
Native American Storytelling
Join Education and Program Specialist Danielle Culp for this month’s episode of Learn & Play! In this episode of Learn & Play, designed for children and their caregivers, learn about Native American storytelling and how to make wings using construction paper and poster board.
Materials Needed:
Poster Board or Foam Core Board
Colored Construction Paper
Pair of Scissors
Glue stick
Pencil
Step 1: Making the Base
First we need to make the base of the wings. Take the poster board or foam core board and cut it in half. You want to split it in half along the long side. If you are using foam core you can use an Exacto knife to cut it in half. On both wings mark how wide you want the wing to be. Make the wing about twice as wide as the child’s arm. Cut both wings so they are the same width and set aside.
Step 2: Cutting out the Feathers
To make the feathers use the colored construction paper. For this project I used rainbow colors. I cut 12 feathers of each color (red, orange, yellow, green, blue, purple) to use on the wings. Cut each feather like the shape of an eye, long oval with sharp points at each end. Each feather will be around 11’’ long and 3-4’’ wide.
Step 3: Attaching the Feathers
Start at the bottom edge of one of the wing bases. Take the glue stick and make a line all the way across the bottom of the wing. Take 6 feathers that you want to be on the bottom row and start sticking them to the glue you applied. The feather next to the edge that will be closest to the shoulder should point down. Slightly angle each feather pointing to the outside edge until you get to the 6th feather which should be pointing straight out to the side.
For the next row, move up about 2’’ and put another line of glue. Take another 6 feathers and lay them down just like the first row. This row will be identical to the row below, just a couple inches higher. Continue until you have laid down all the rows. The final row at the top of the wing needs to be glued down so that you cannot see any of the poster board underneath. On my projects I had 6 rows, each row a different color of the rainbow, that contained 6 feathers. You can adjust the number of feathers and rows to whatever you like. After you have finished one wing do the other. Make sure that the feathers on the opposite wing point out the other direction so that when the wings are on the feather on each wing will point away from the body.
Step 4: Attaching the Arm Bands
When you have finished both wings turn them over so that the wings are facing down and the back of the poster board is facing up. We are going to attach the arm band to the underside of the wings. Take another piece of construction paper and cut it into a long strip that is 3’’ wide (the color of the paper does not matter since it is on the underside). Measure around the child’s arm close to the shoulder and use that measurement to glue the 3’’ band down. You want the band to be a little loose so it can easily slide on and off the arm. Measure around the child’s forearm and use that measurement to glue down another 3’’ band. You will need 2 bands that are measured close to the shoulder and 2 bands measured at the forearm. This will make 2 bands for each wing.
Take the band that was measured close to the shoulder and glue it down close to the top edge that will be closest to the child’s shoulder. Take the band that was measured at the forearm and glue it down about halfway down the top edge of the wing. To make this measurement east hold the wing next to the child’s arm and mark where both bands should be glued.
Let your wings dry completely and then you are ready to use your wings to help tell and act out one of the Cherokee creation story from the video above.
Watercolor Sun Catcher
This activity is inspired by the work of artist Acee Blue Eagle. Acee Blue Eagle was a Native American artist from Oklahoma. He was a member of the Muscogee (Creek) Nation, and he founded the art program at Bacone College in Muskogee, Oklahoma, where he worked and taught. Woman Hoeing Corn depicts a woman tending to new green corn crops under an image of the sun. In several Native American tribes, this new life is celebrated at the Green Corn Ceremony. The Green Corn Ceremony is a multi-day event that includes offerings and gives thanks for the new crops of corn. It is a time of renewal, regeneration, and remembrance. The Ceremony begins at the summer solstice and ends at the next full moon. The significance of the summer solstice inspired this watercolor sun catcher activity.
Look closely at Woman Hoeing Corn by Acee Blue Eagle.
-
-
-
-
- What do you see in this painting?
- Can you find two birds? What color are they?
- What else do you see in the sky?
- Can you find a face hidden in the sun?
- What details can you find on the woman’s clothing?
- What color are her shoes?
- Can you find the artist’s signature?
-
-
-
Materials Needed:
1 coffee filter
Scissors
Washable markers (orange and yellow)
Paper towel
Spray bottle
Water
Step 1:
Fold your coffee filter in half three times to create a wedge. Use scissors to cut a triangle-shaped notch at the end of your wedge. Unfold to create your sun!
Step 2:
Use washable markers to add color to your sun. You can color any design you like. The colors will blend in the next step, creating a watercolor effect.
Step 3:
Place your colored sun on a paper towel to prevent color bleeding. Use a spray bottle to saturate your colored sun with water. The colors will begin to spread and blend together. Let dry.
Step 4:
Once dry, tape your new watercolor suncatcher to a window and water the sun shine though!
Suggested Readings:
The Longest Day: Celebrating the Summer Solstice by Wendy Pfeffer
The Summer Solstice by Ellen Jackson
The Solstice Badger by Robin McFadden
Seasons by Robin Nelson
Summer Solstice by Maddie Spalding
Rainbow Weaving
This week’s Learn & Play activity is inspired by the work of artist Albert Bierstadt. Bierstadt was born in Germany but grew up in the United States. He was a part of the Hudson River School of artists in New York. He loved the beauty of landscapes and wanted to share it with others. Bierstadt painted landscapes in the far East and West depicting the beauty and glory of places such as the Rocky Mountains, Yosemite Valley, and Niagra Falls. He wanted to capture the emotions and feelings that the landscapes possessed.
Look closely at Niagra Falls by Albert Bierstadt.
-
-
-
-
-
- What do you see in this painting?
- How does what you see make you feel?
- Imagine you are inside the painting. What would it feel like?
- What would you hear?
- What would you smell?
- How many colors do you see?
- Can you find different textures in the rock?
- Can you find trees?
- Can you find more than one waterfall?
-
-
-
-
Materials Needed:
1 sturdy paper plate
Yarn for loom
Cut pieces of yarn for weaving (4 ft each: red, orange, yellow, green, blue, purple)
Scissors
Masking tape
Step 1: Create your loom
Make approximately 14 small equal cuts around the edge of the paper plate. Next, secure one end of the loom yarn to one of your cuts. Leave about 6 inches of yarn as a tail. Bring your yarn across the plate, through a cut, around the notch, and back through the next cut. Move yarn back across to the opposite side and hook through the next notch. Continue in this web like pattern until all notches are looped. This create the heddles for your loom. Tie the end from the last loop to the 6-inch tail.
Step 2: Prepare to weave
Begin with your 4 ft piece of red yarn. Tie the end to the center of the loom to secure it to the heddle (loom strings). Wrap masking tape around the weaving end of your yarn to create a “needle” for easier weaving.
Step 3: Start weaving!
Begin to weave your red yarn through the heddles (loom strings) in an over-under pattern. You can either weave “over two, under two” for a looser weave and quicker craft time (This is ideal for little ones. It also helps with skip counting by 2s!) or you can weave “over one, under one” (This results in a tighter weave).
Step 4: Continue the pattern
When you reach the end of your red yarn, cut off the tape “needle” and tie the end of the orange yarn to the end of the red yarn. Place take on the weaving end of the orange yarn to create a “needle”. Continue in your “over, under” weaving pattern until you reach the end of the yarn.
Step 5: Complete your rainbow
Repeat Step 4 for yarn colors (yellow, green, blue and purple). Once you reach the end of your rainbow, tie the last piece of yarn to itself to secure it. Remove each of the loom loops from the paper plate. Tie loom loops together in the shape of a figure 8.
Step 5: Remove from loom
Remove each of the loom loops from the paper plate. Tie loom loops together in the shape of figure 8s. Once loops are securely tied, trim excess yarn from the loops. Trim any excess yarn from the places where you connected new colors into the weaving. You can use the 6-inch tail to hang your newly woven tapestry.
Suggested Readings:
My Color Rainbow by Agnes Hsu (author)
Raindrops ARE Rainbows by Valerie Bessette (author)
A Rainbow of My Own by Don Freeman (Author)
Planting a Rainbow by Lois Ehlert (author)
Rainbow Wish by Emiliya Iskrenova (author)
Ava and the Rainbow (Who Stayed) by Ged Adamson (author)
Tell Me Why: I See Rainbows by Katheryn Beaton (author) (Also available on Epic! Books)
What Causes a Rainbow? by Janet Slingerland (author) (Also available on Epic! Books)
How the Finch Got His Colors by Annemarie Guertin (author) (Also available on Epic! Books)
Why Do Rainbows Have So Many Colors? by Jennifer Shand (author) (Also available on Epic! Books)
Pride: The Story of Harvey Milk and the Rainbow Flag by Rob Sanders (author)
Rainbow: A First Book of Pride by Michael Genheart PhD (author)
Shell Beach at Shinnecock
This week’s Learn & Play activity is inspired by Shell Beach at Shinnecock by William Merritt Chase. Chase famously painted people, the inside of buildings and homes, still life objects, and landscapes. He was one of the most important American painting teachers of his time. He taught at the Art Students League of NY, and he formed the Chase School of Art in 1896.
Shell Beach at Shinnecock is an example of Chase’s landscape paintings. This beach is located on the northeast side of Long Island, New York. Today, the area is called Shinnecock Hills and Shinnecock Bay.
Look closely at Shell Beach at Shinnecock by William Merritt Chase.
-
-
-
-
-
-
- What details do you notice about the painting?
- What is happening in this painting? What might happen next?
- Can you find a horseshoe crab in the sand?
- Look closely at the sand. What details can you find? Where do you see strokes from the artist’s paintbrush?
- What colors do you see?
- How many seashells can you find?
-
-
-
-
-
Materials Needed:
1 cup Epsom salt per color
Several drops of food coloring
Large zip-seal bags (one per color)
Step 1:
Add 1 cup Epsom salt to zip-seal bag. If you desire more than one color of sand, use 1 cup of salt per bag.
Step 2:
Add several drops of food coloring to each bag. Push as much air out of the bags as you can, zip to seal, and squish to mix the color into the salt.
Step 3:
Once salt is fully saturated with color, open the bags and let dry. Make sure the mixture is completely dry before playing to prevent color staining on hands.
Step 4:
Once dry, transfer into a bucket for play! You can dig, bury shells or small figures in the sand to find, or you can add a few drops of water for messy fun! Build sandcastles with the moist sand or mold figures and shapes!
Suggested Readings:
The Specific Ocean by Kyo Maclear (Author) (Also available on Epic! Books)
Is Sand a Rock? by Ellen Lawrence (Author) (Also available on Epic! Books)
Building Sandcastles by Dana Meachen Rau (Author) (Also available on Epic! Books)
National Geographic Readers: At the Beach by Shira Evans (Author) (Also available on Epic! Books)
Carlos & Carmen: The Sandy Weekend by Kirsten McDonald (Author) (Also available on Epic! Books)
Carlos & Carmen: El fin de Semana Arenoso by Kirsten McDonald (Author) (Also available on Epic! Books)
S is for Seaglass: A Beach Alphabet by Richard Michelson (Author) (Also available on Epic! Books)
Think Like a Scientist at the Beach by Dana Meachen Rau (Author) (Also available on Epic! Books)
Fred and Pete at the Beach by Cynthia Nugent (Author) (Also available on Epic! Books)
El Pequeño Hoo va a la Playa/Little Hoo goes to the Beach by Brenda Ponnay (Author) (Also available on Epic! Books)
Los Costas de la Tierra by Bobbie Kalman (Author) (Also available on Epic! Books)
The Water Cycle
This week’s Learn & Play is inspired by a painting by artist Thomas Moran. Moran was an artist and explorer. He loved natural landscapes and he created paintings to share them with all the people who couldn’t see them. Moran helped encourage people to protect American’s natural landscapes, and he was influential in creating America’s National Parks.
-
-
-
-
-
-
-
- What do you see in this painting?
- What details do you notice about the landscape?
- Imagine what it would be like to step into this painting?
- What do you smell?
- What does it sound like?
- What do you feel like?
- Is it cold?
- Is it warm?
- Do you feel a breeze?
- How does this painting make you feel?
- What do you wonder about this painting?
- Look closely at the rocks in the lower right. What details can you find? Can you find a bird?Can you find Thomas Moran’s fingerprint? (Hint: It’s close to his signature!)
-
-
-
-
-
-
Construction Paper
Tempera or washable paint (shades of blue or purple)
Pipettes or turkey basters
A shallow pan
Plastic cups
Paper towel
Tape
Coloring supplies (Ex: crayons, markers, colored pencils, etc.)
Step 1:
Pour the tempera or washable paint into the containers and thin with a small amount of water.
Step 2:
Tape construction paper to a stand or wall with the end sitting on a paper towel in a shallow pan.
Step 3:
Suction paint solution using a pipette or turkey baster. Squeeze paint solution towards the top of the paper, allowing the paint to drip down the paper. The paper towel will help to soak up excess paint at the bottom of the paper. Repeat with different colors. The colors will run together and mix creating a beautiful flowing waterfall.
Step 4:
Once you are happy with your waterfall drip painting, let it dry. Once dry, use your coloring supplies to complete the landscape.
Suggested Readings:
Waterfalls by Precious Mckenzie (Author) (Also available on Epic! Books)
Caídas de Agua by Precious Mckenzie (Author)
John Muir Wrestles a Waterfall by Julie Danneberg (Author) and Jamie Hogan (Illustrator) (Also available on Epic! Books)
Watch Over Our Water (Cloverleaf Books ™ — Planet Protectors) by Lisa Bullard (Author) and Xiao Xin (Illustrator) (Also available on Epic! Books)
Hey, Water! by Antoinette Portis (Author) (Also available on Epic! Books)
Taking Care of the Earth
This week’s activity celebrates the 50th anniversary of Earth Day with special guest Ric Kotarsky, Curator of Conservation and Scientific Advancement from the Tulsa Zoo.
This week’s Learn & Play activity is inspired by the life and work of artist John James Audubon. Audubon was an immigrant from Haiti. He was an artist, researcher, and ornithologist (a person who studies birds). He was fascinated with all the birds he saw in America, so he wanted to study and paint them. He was also a conservationist and advocated for the protection of birds and their habitats.
-
-
-
-
-
-
-
- What do you see in this painting?
- What do details do you notice about the turkey?
- What details do you notice about the habitat?
- What is happening in this painting? What makes you say that?
- What do you wonder about this painting?
- Can you find a stripe pattern in this painting?
- Can you find a pattern that looks like polka dots?
- Look closely at the mountains in the background. How many kinds of paintbrush strokes can you see?
- What do you think is happening in this painted scene? What makes you say that?
-
-
-
-
-
-
Collection of loose parts (Examples: Natural objects such as leaves, flowers, grass, nuts, seeds, etc. Repurposed household items such as small cardboard pieces, soda can tabs, fabric scraps, cardboard tubes, bottle caps, old buttons, etc.) Note: Adult supervision required. Some loose parts may pose a choking hazard
Paper or cardboard for mounting (optional)
Glue (optional)
Step 1:
Collect natural loose parts from your yard or neighborhood (leaves, grass, flower petals, nuts, seeds, etc.) and from your recycling or junk drawer (tabs from pop cans, toilet paper tubes, bottle caps, and more). This is also a fun use for all those random buttons!
Assemble the objects and store in a muffin tin, egg carton, or a collection of bowls.
Step 2:
Find a workspace and play! What can you create using your loose parts? Try making an animal inspired by John James Audubon’s painting. What animal did you create? You can save your creations by mounting your loose parts on a piece of paper or cardboard with glue, or you can put the parts back in your container to play with again later.
Suggested Readings:
The Boy Who Drew Birds: A Story of John James Audubon by Jacqueline Davies (Author), Melissa Sweet (Illustrator)
Little Naturalists: John James Audubon Painted Birds by Kate Coombs (Author), Seth Lucas (Artist)
101 Small Ways to Change the World by Lonely Planet Kids (Author), Aubre Andrus (Author)
Feathers for Lunch by Lois Ehlert (Author)
Plumas para Almorzar por Lois Ehlert (Author), Alma Flor Ada (Translator), F. Isabel Campoy (Translator)
The Plastic Problem: 60 Small Ways to Reduce Waste and Help Save the Earth by Lonely Planet Kids (Author), Aubre Andrus (Author)
Earth Day Every Day (Cloverleaf Books ™ — Planet Protectors) by Lisa Bullard (Author) and Xin Zheng (Illustrator) (Also available on Epic! Books)
Earth Ninja: A Children’s Book About Recycling, Reducing, and Reusing by Mary Nhin (Author) and Jelena Stupar (Illustrator)
Additional Resources:
Scholastic Learn at Home: Reduce, Reuse, Recycle
Video: What Happens to our Trash?
Exploring Gardens
Join Education and Programs Specialist Angie Williams as she explores art and gardening. Sing along and answer thoughtful questions about gardening and the outdoors. Find additional activities relating to the lesson below.
Painting With Nature Instructions
Materials Needed:
Nature collection (Ex: twigs, grass, leaves, flowers, buck eyes, pinecones, acorns, walnuts etc.)
Rubber bands (3-5 should do)
Tempera or washable paint
A paper plate or paint palette to hold your paints
Construction paper
Step 1: Nature texture scavenger hunt
Head outdoors for some nature exploration! Search and explore your yard, garden, or a local public greenspace and see how many different textures you can find in nature. You can use this printable scavenger hunt as a guide: Nature Texture Exploration Scavenger Hunt. Don’t forget to collect a few twigs to use as your paintbrushes!
Step 2: Assemble your nature paintbrushes
Attach an item such as grass or flowers to one end of a twig with using a rubber band to hold it in place. Repeat this step as many times as you wish to create multiple paintbrushes.
Step 3: Experiment with paint!
Dispense the paints on your paper plate or palette. Dip your new paintbrushes into the paint and begin get creative on paper! Experiment and discover the different textures and patterns that are created using different paintbrushes. If you collected any objects that cannot be attached to a twig, try rolling them in paint and then the paper or try using them as stamps.
Suggested Readings:
Badger’s Perfect Garden by Marsha Diane Arnold (Author) and Ramona Kaulitzki (Illustrator) (Also available on Epic! Books)
Planting a Rainbow by Lois Ehlert (Author) (Also available on Epic! Books)
Por Todo Nuestro Alrededor por Xelena González (Autor) y Adriana M. Garcia (Ilustrador) (También disponible en Epic! Books)
Oh Say Can You Seed?: All About Flowering Plants by Bonnie Worth (Author) and Aristides Ruiz (Illustrator)
Secrets of the Apple Tree (Shine-A-Light Books) by Carron Brown (Author) and Alyssa Nassner (Illustrator)
Additional Resources:
Video: What are Plants
Video: Sounds of Spring
Take a closer look at “Taos Garden” in the Gilcrease Online Collection.
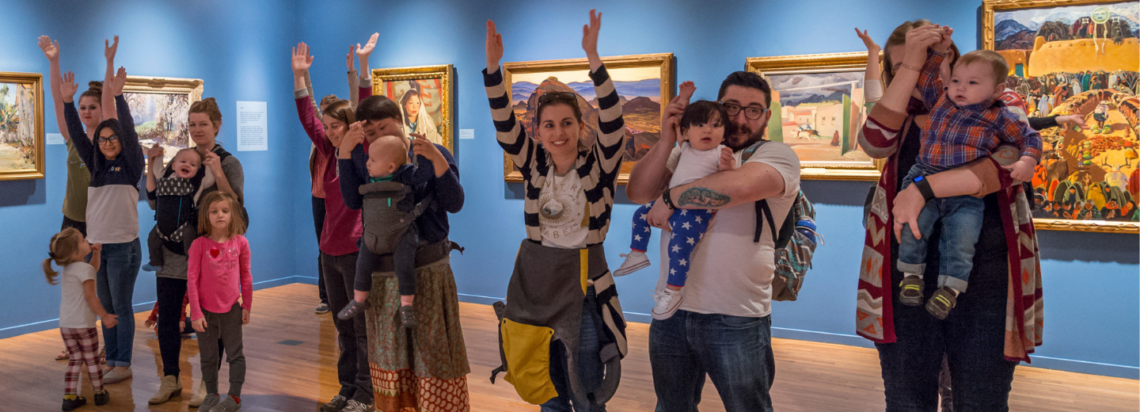
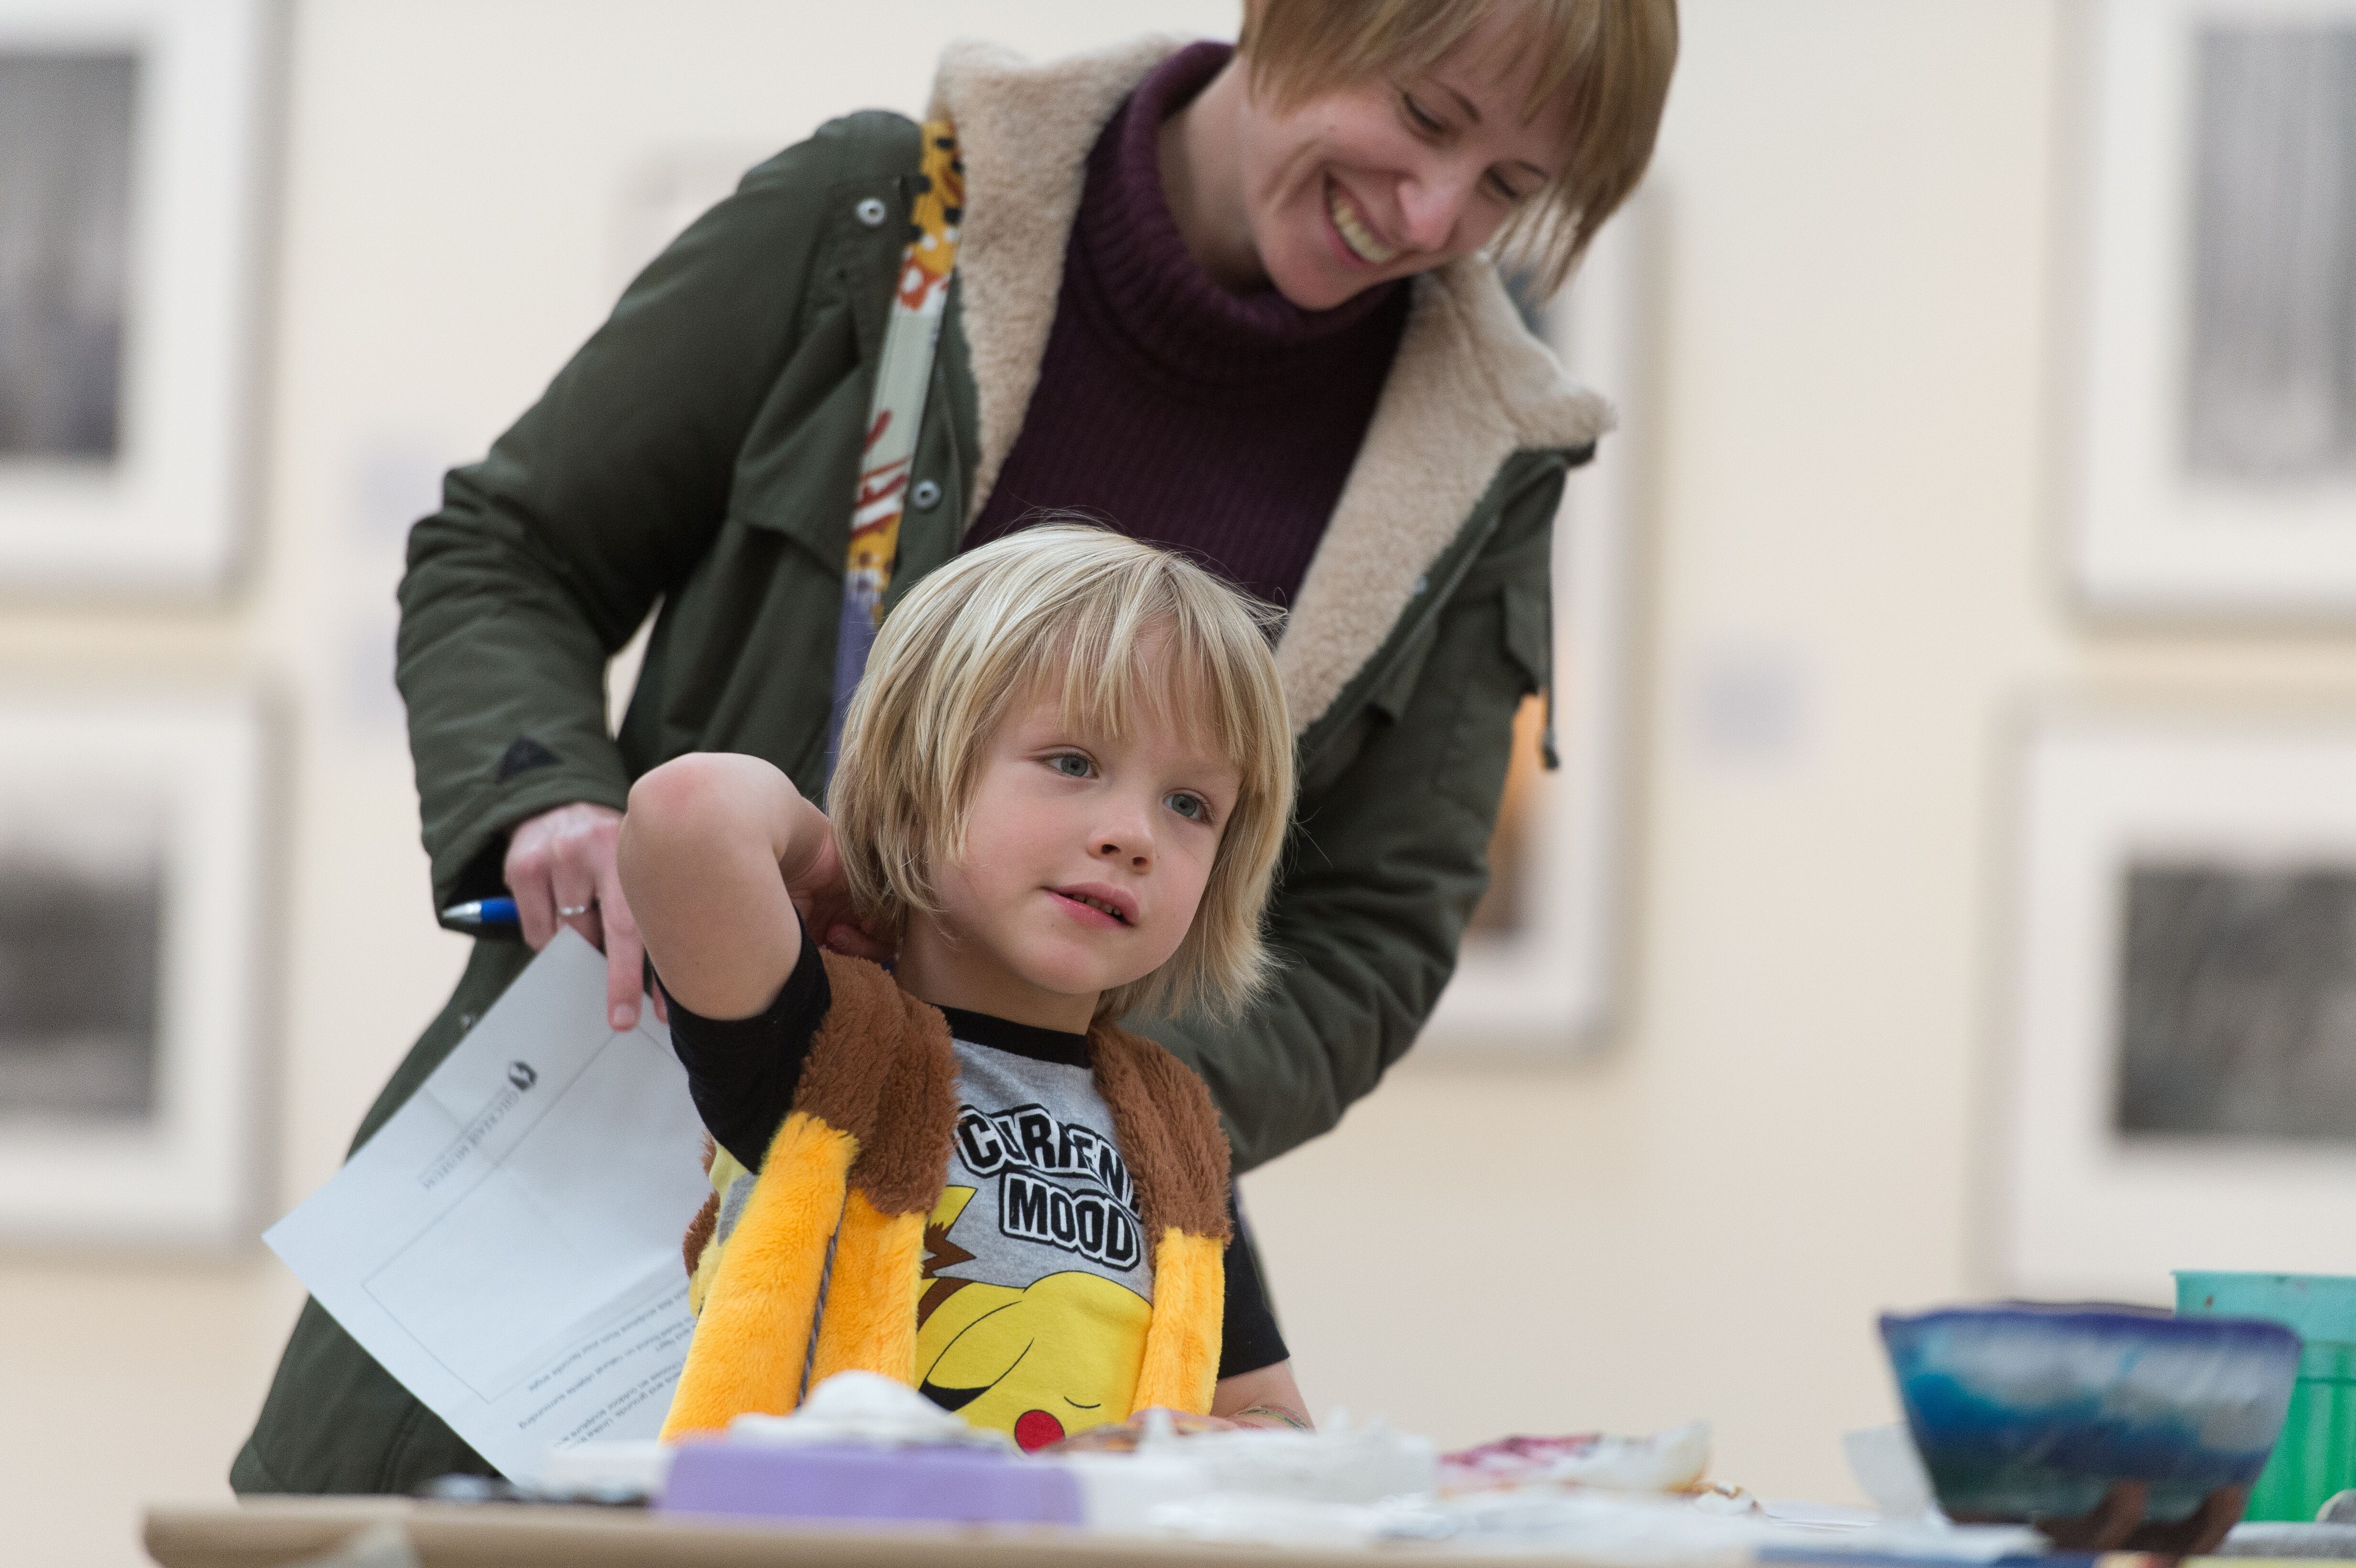
Presented in collaboration with Tulsa Community College Early Childhood Education Department, this program is designed for children ages 0-5 and their caregivers to enjoy a developmentally-appropriate gallery experience followed by hands-on activities designed to stimulate early learners in a lively, social atmosphere. Snacks and all materials are provided.
Free with museum admission, but advance reservation is required due to limited space. Space is limited and advanced registration is required.